This guide breaks down the essential parts of a beginner-friendly robot and explains what each component does, why it matters, and how they work together as a complete system. It is designed to give students and educators a clear starting point for successful classroom robotics projects.
By the end, learners will have a stronger foundation in robotics and a clearer understanding of how real-world engineering systems are designed and built.
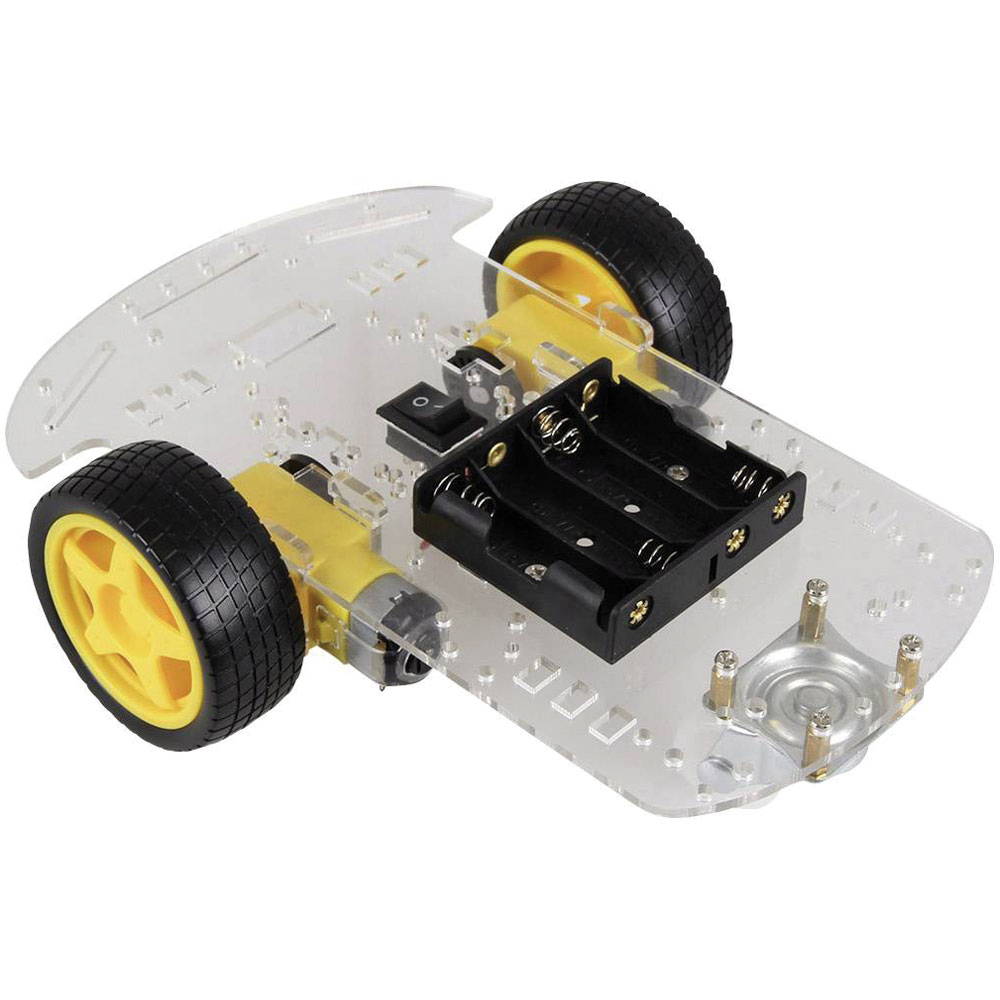
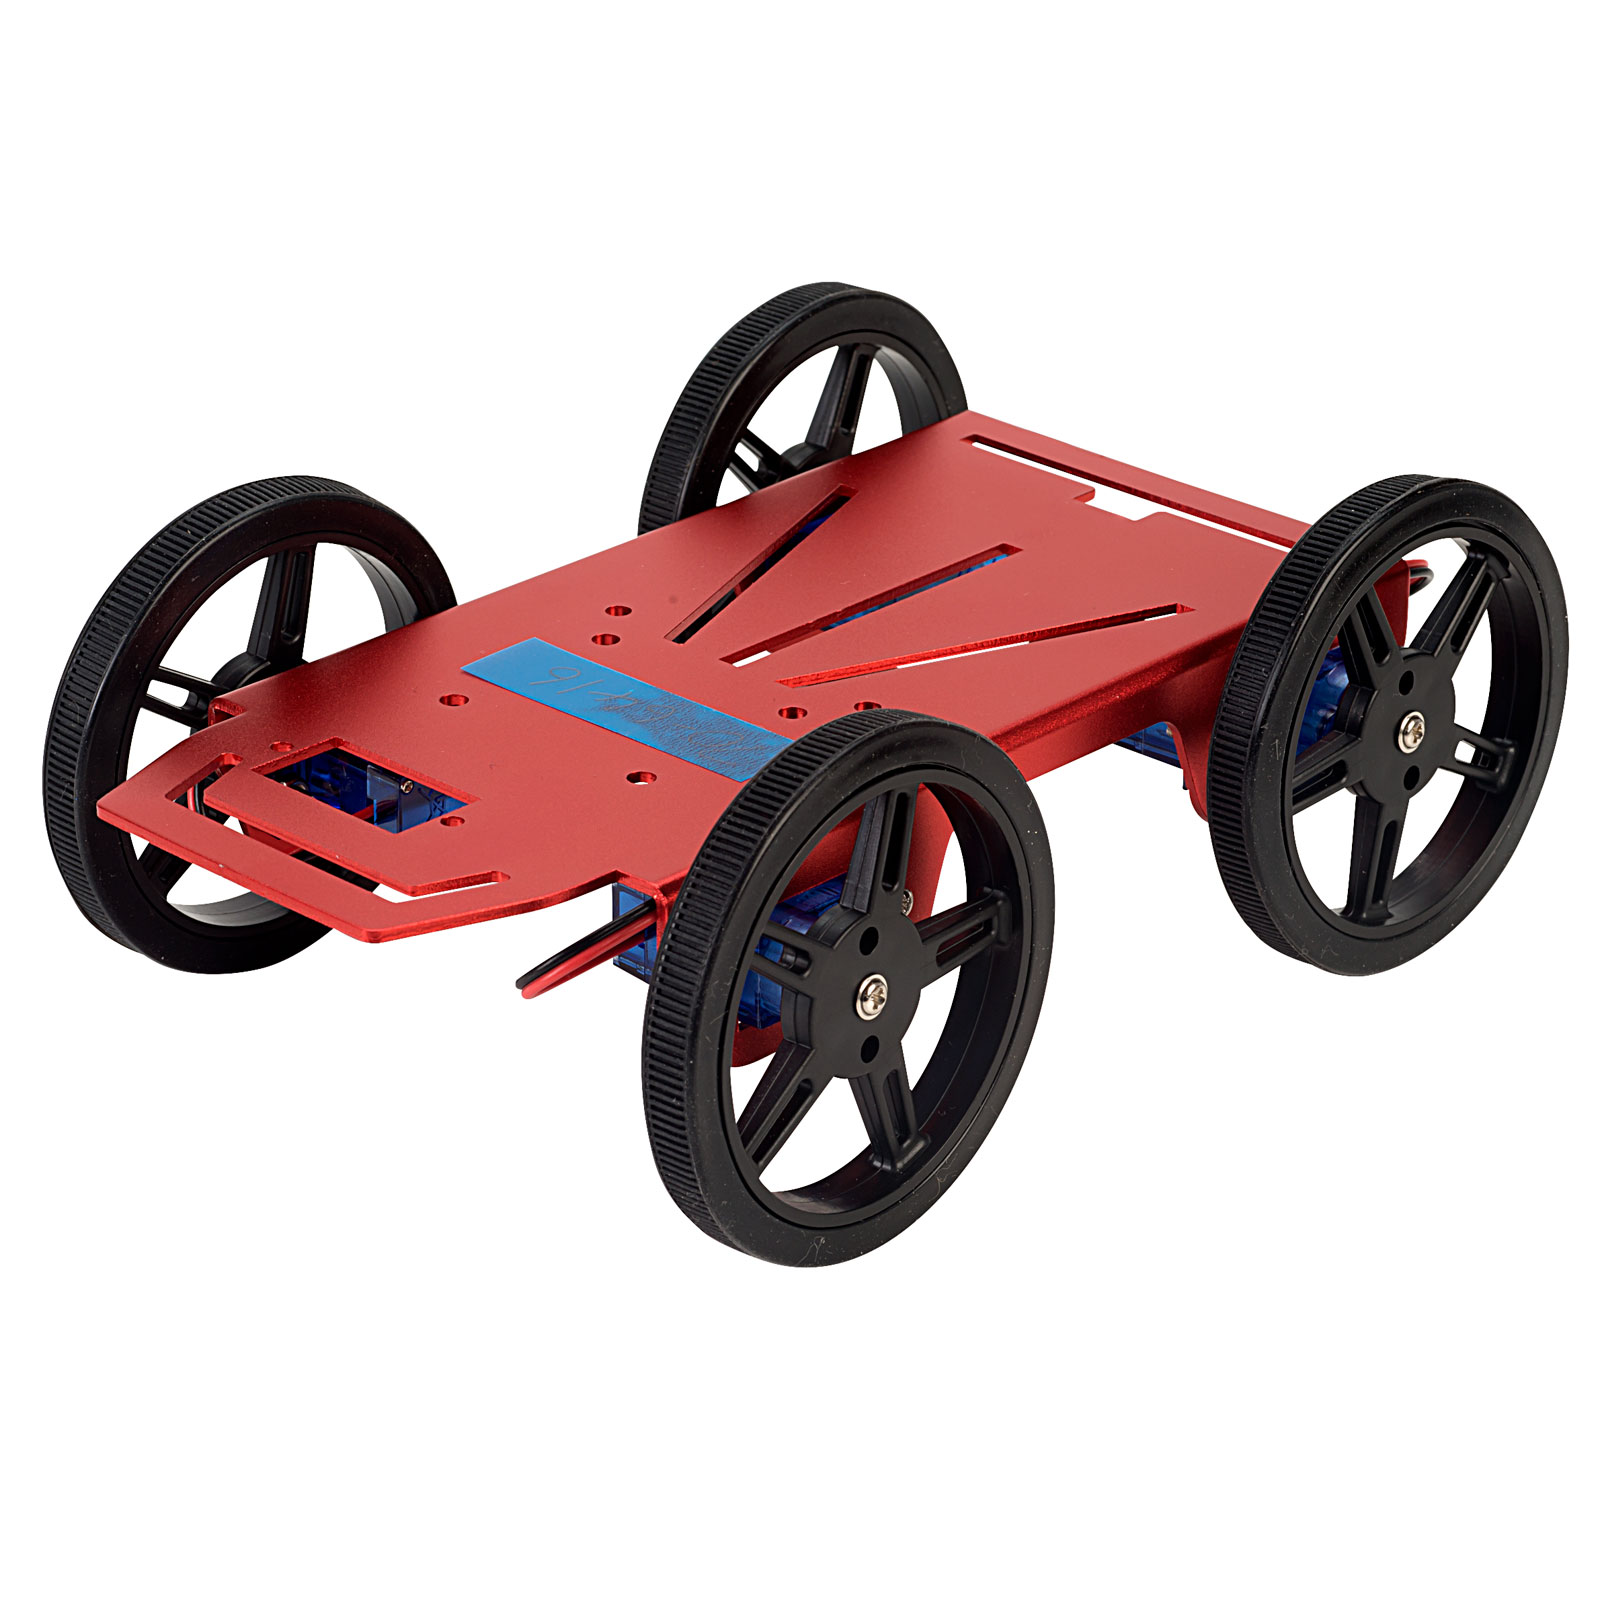
Chassis - The robots body
The chassis is the main frame or structure that holds everything together.
In school projects, this can be:
- A purpose-built metal or acrylic chassis
- A 3D‑printed frame
- A simple wooden or plastic base
What matters most is that it’s strong enough to support all components and has space for mounting wheels, motors, circuit boards, and wiring.
Teaching tip: Let students design their own chassis to encourage creativity and understanding of weight distribution.
Why is the chassis considered the "structural backbone" of a robot?
The chassis serves as the reference point for all other systems. It provides the mounting holes for motors, holds the weight of heavy batteries and ensures that sensors remain in a fixed position relative to the ground. Without a rigid chassis, the robot’s wheels may become misaligned, causing the robot to drift or fail to drive in a straight line.
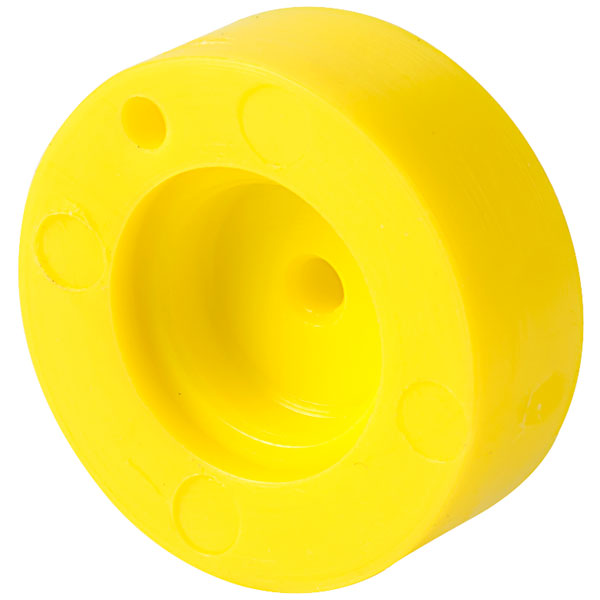
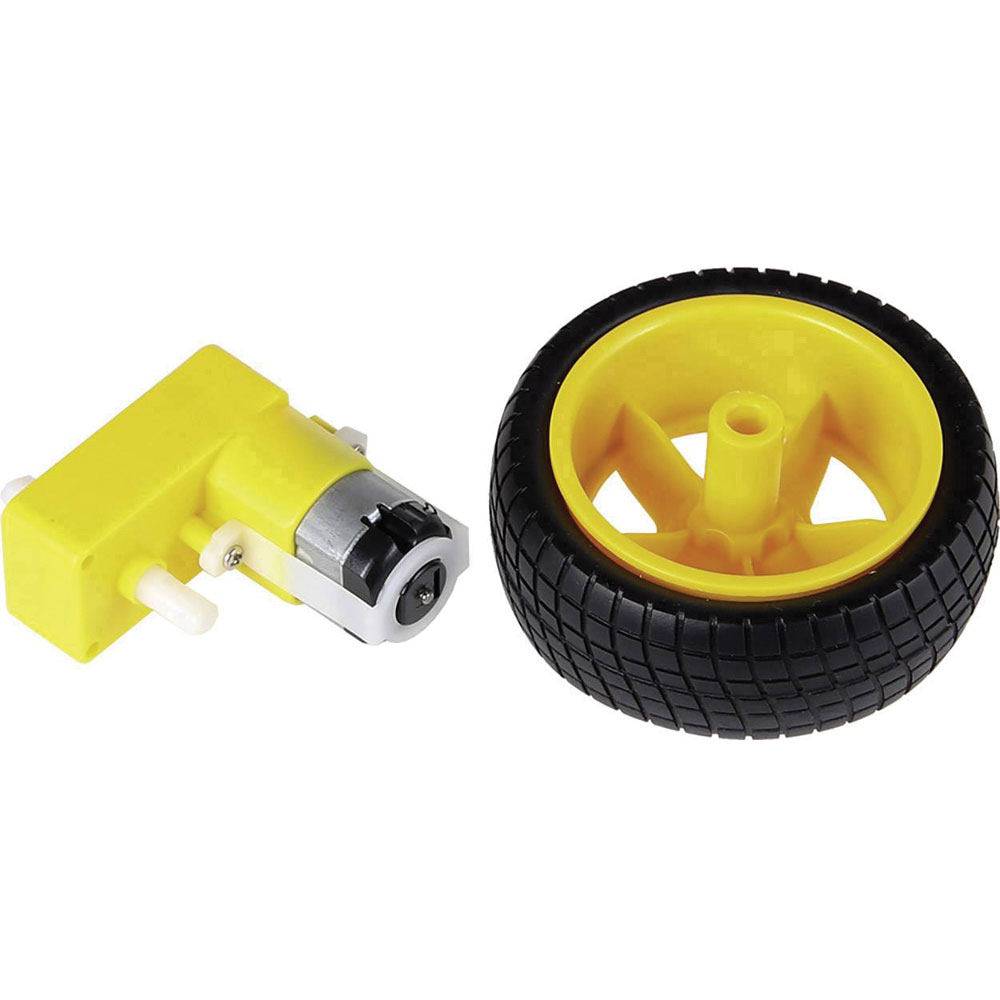
Wheels & Motors – Movement and motion
To move around, a robot typically uses:
- Wheels (2‑ or 4‑wheel setups are most common)
- DC motors, geared motors, or servo motors
DC motors provide continuous rotation, which makes them ideal for driving wheels.
Servo motors allow more precise control and are great for steering mechanisms or robotic arms.
Encourage students to think about:
- Speed vs. torque (strength)
- Wheel size (larger wheels = more ground clearance)
- Navigation (2‑wheel with a castor is simple and effective)
How does wheel size impact a robot's ground clearance and speed?
Larger wheels provide more Ground Clearance, allowing a robot to drive over bumps and wires that would trap a smaller-wheeled bot. Mathematically, a larger wheel also travels a greater linear distance with every single rotation (Distance = π x Diameter), meaning the robot will have a higher top speed. However, students should be aware that larger wheels require more motor torque to start moving from a standstill, which can strain small classroom motors.
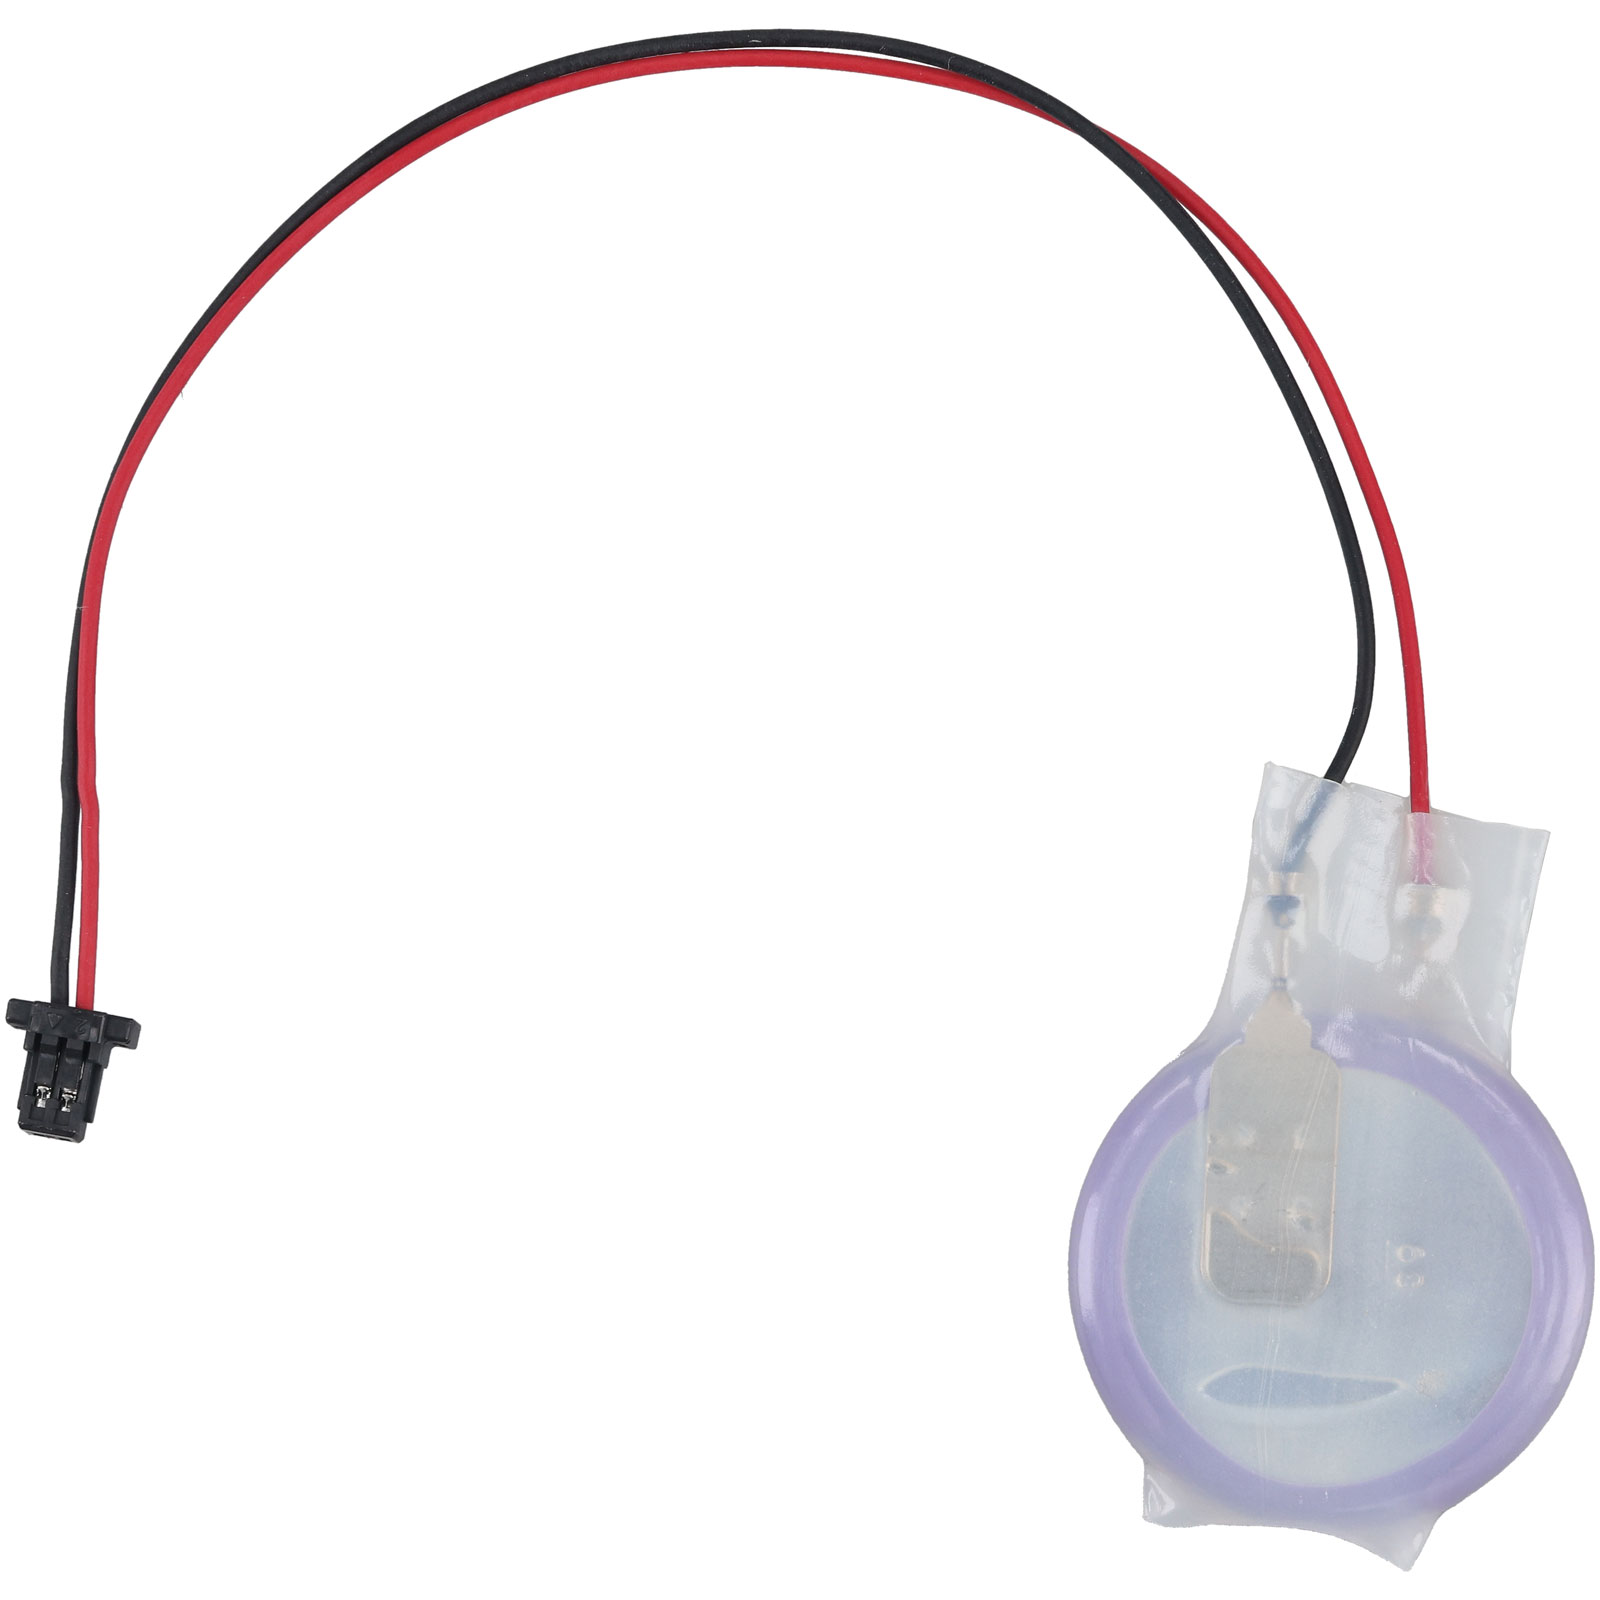
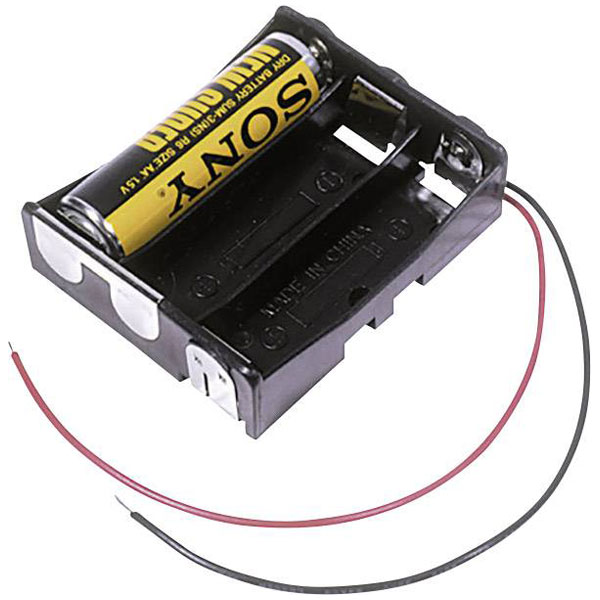
Power Supplies – Keeping the robot alive
Robots need a reliable power source. Schools commonly use:
- AA battery packs
- Li‑ion or LiPo rechargeable batteries
- USB power banks (great for small robots with microcontrollers)
The key is matching the power supply to the motors and electronics.
For example:
- Motors often need 5–12V
- Microcontrollers typically require 3.3–5V
Safety tip: Teach students about battery handling and polarity before connecting anything.
Why is choosing the correct power supply important for robot performance?
A robot requires a consistent and reliable power supply to ensure that both its logic circuits and mechanical actuators function without interference. If the power source is insufficient, the microcontroller may "brown out" or reset when the motors draw high current, leading to unpredictable behaviour or total system failure.
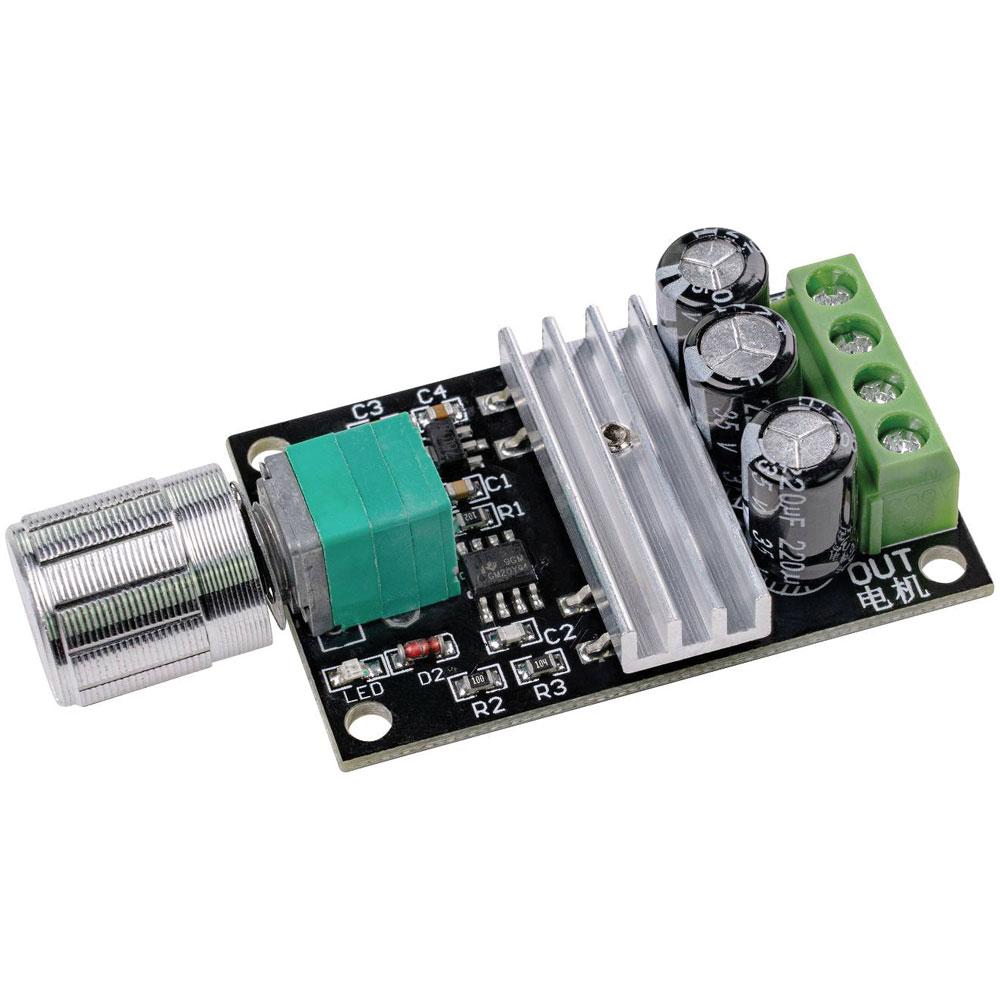
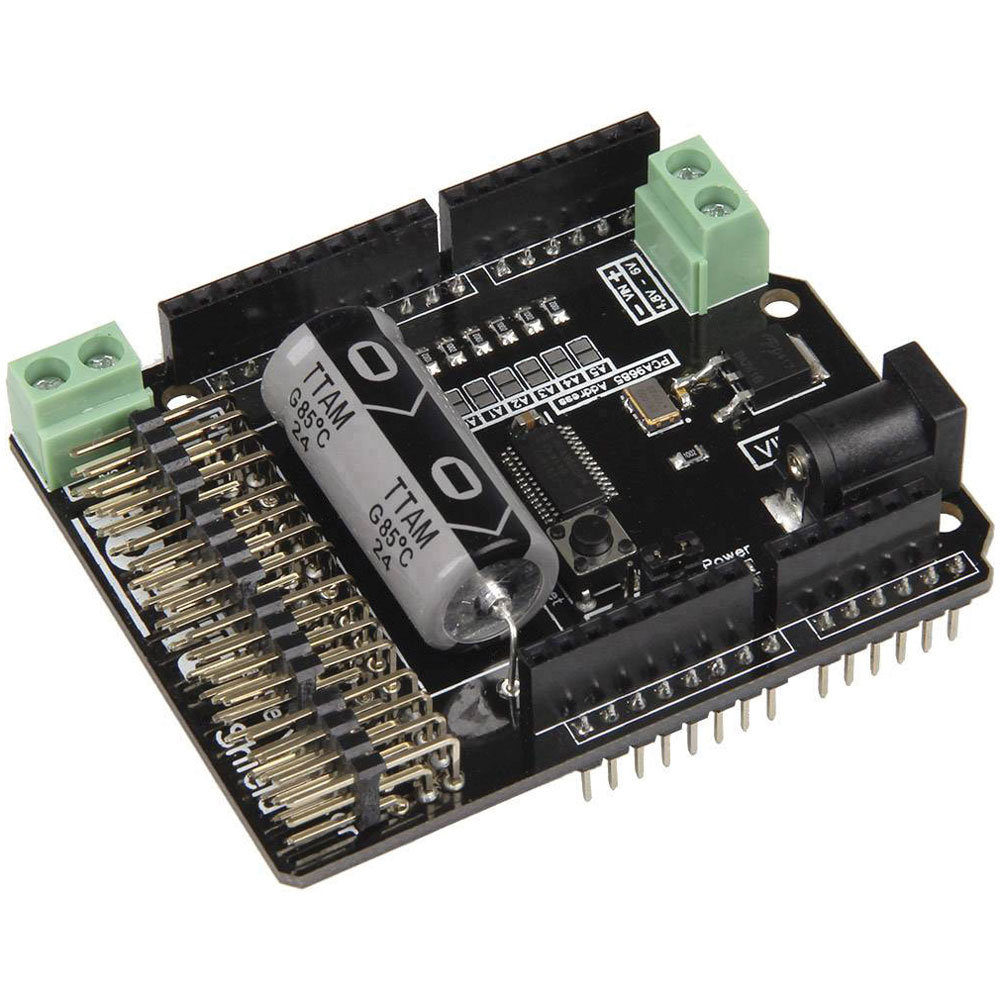
Motor Controller Board – Safe motor driving
Microcontrollers can’t power motors directly — they don’t supply enough current.
That’s where motor controllers come in.
Popular types include:
- L298N controllers
- Dual H‑bridge boards
- Motor shields designed for platforms like Arduino
They let the microcontroller control:
- Direction (forward/reverse)
- Speed (via PWM)
This introduces students to real-world electronics concepts like current control and switching.
Motor Controller Board demonstrates how low-voltage logic circuits can safely interact with high-voltage mechanical systems, providing a practical foundation for robotics and automation.
How does a Motor Controller Board regulate motor speed and direction?
A motor controller board manages motor direction by using H-bridge circuitry to flip the polarity of the current. To control speed, the board utilises Pulse Width Modulation (PWM), which rapidly toggles the power on and off to simulate a lower average voltage, allowing for precise RPM adjustments.
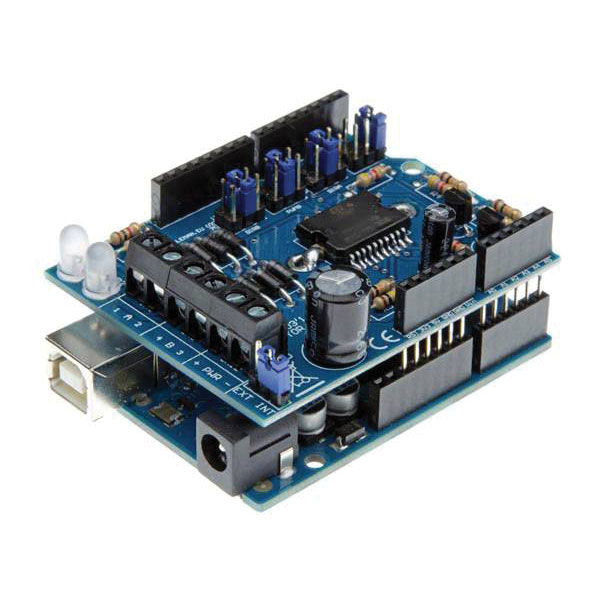
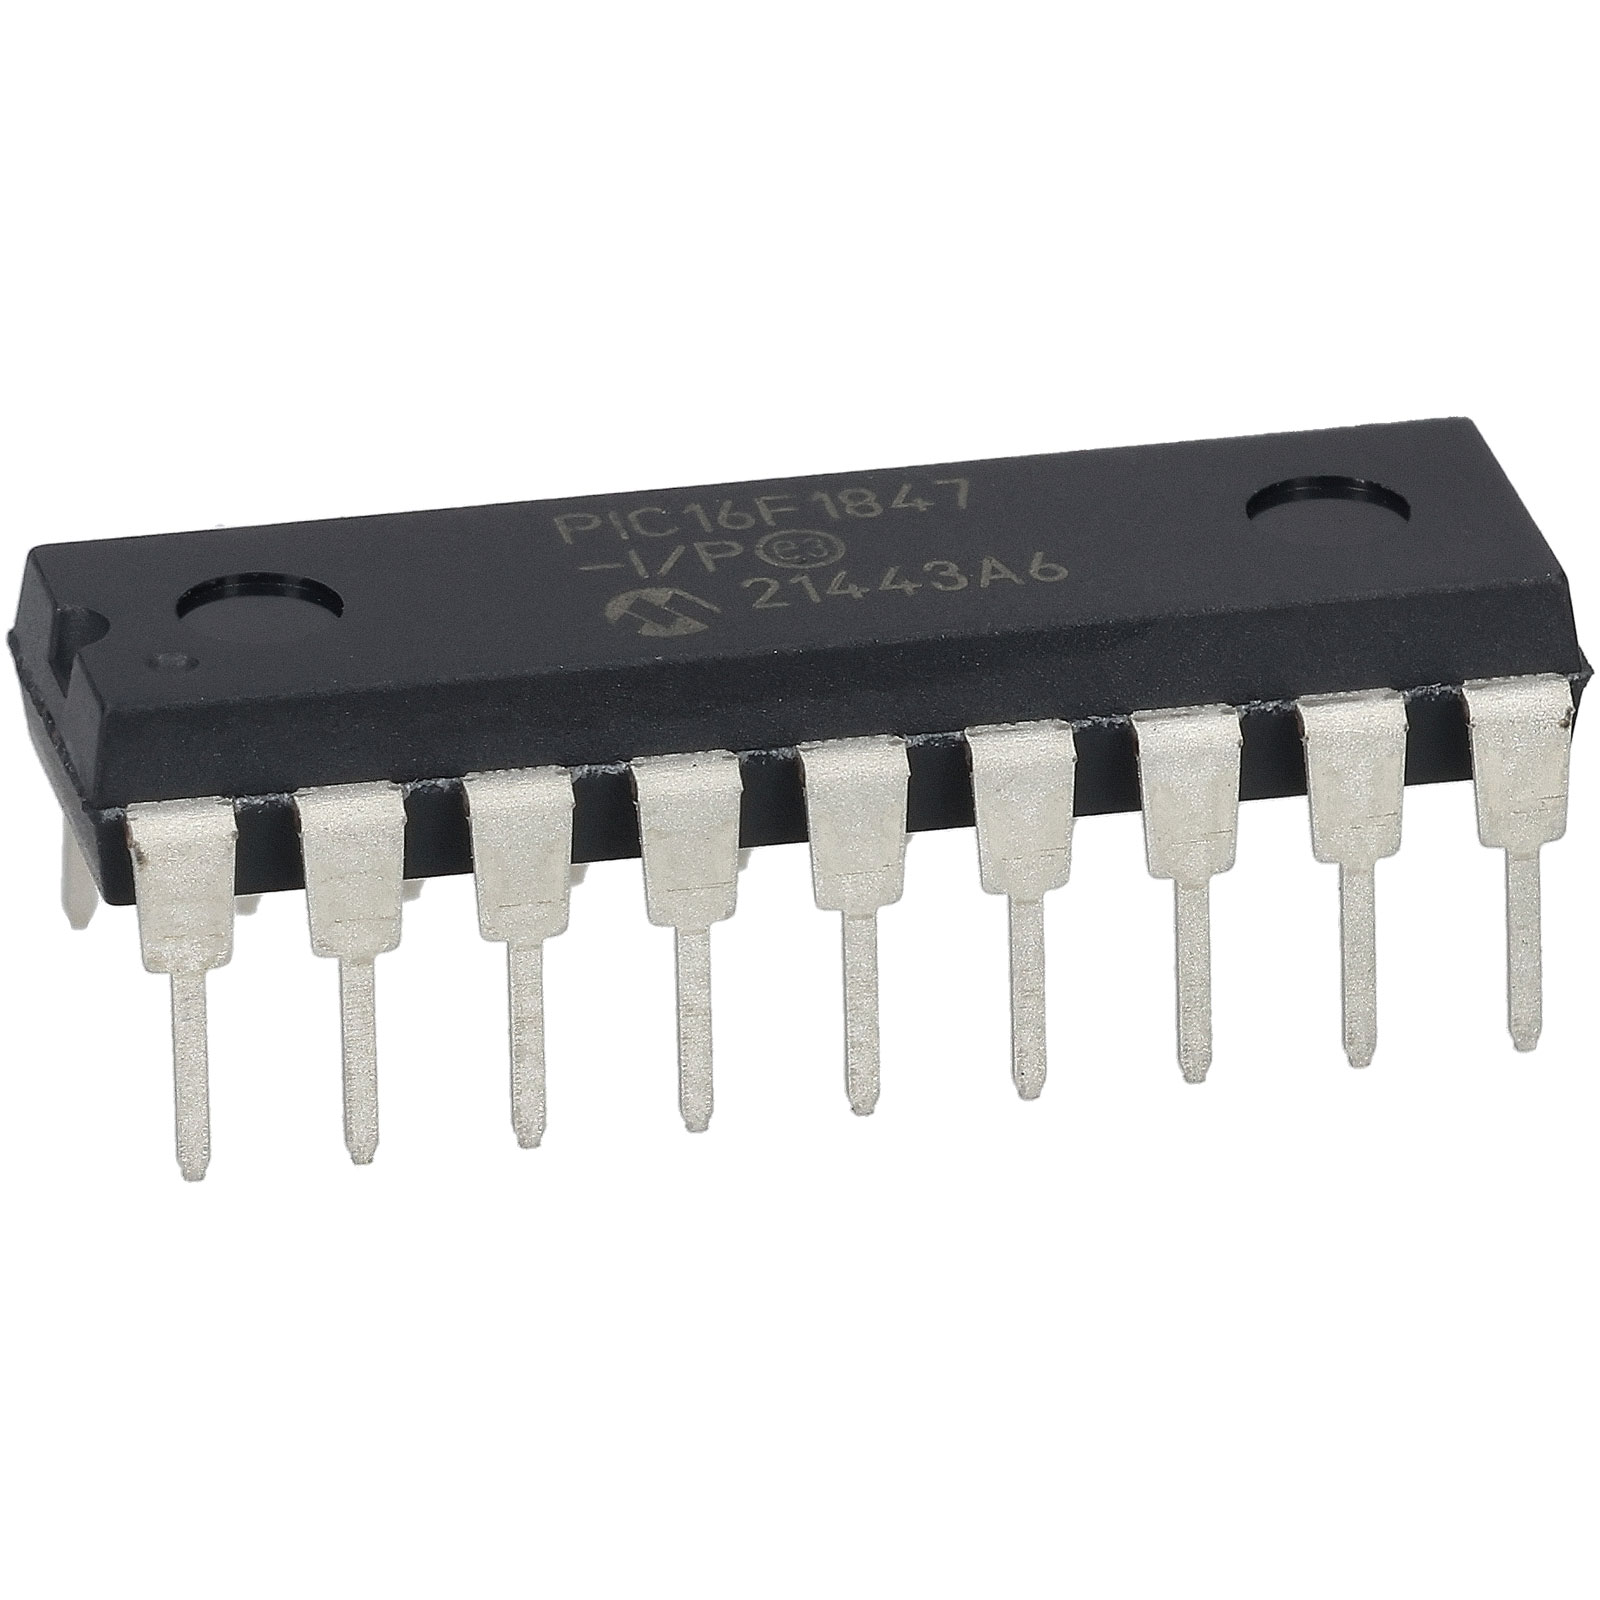
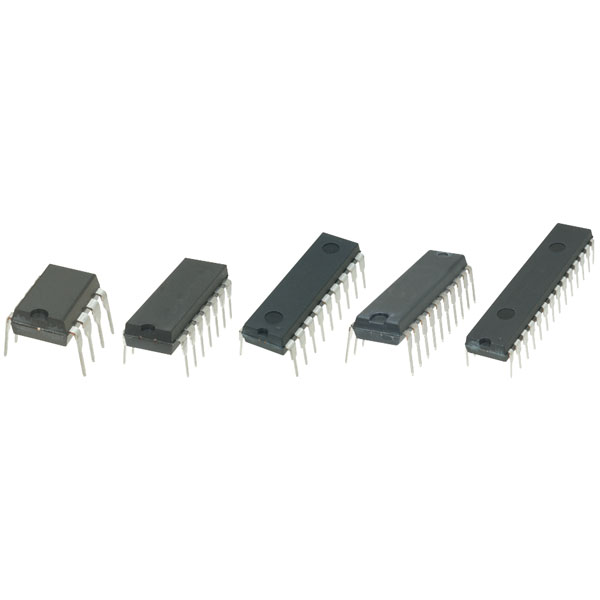
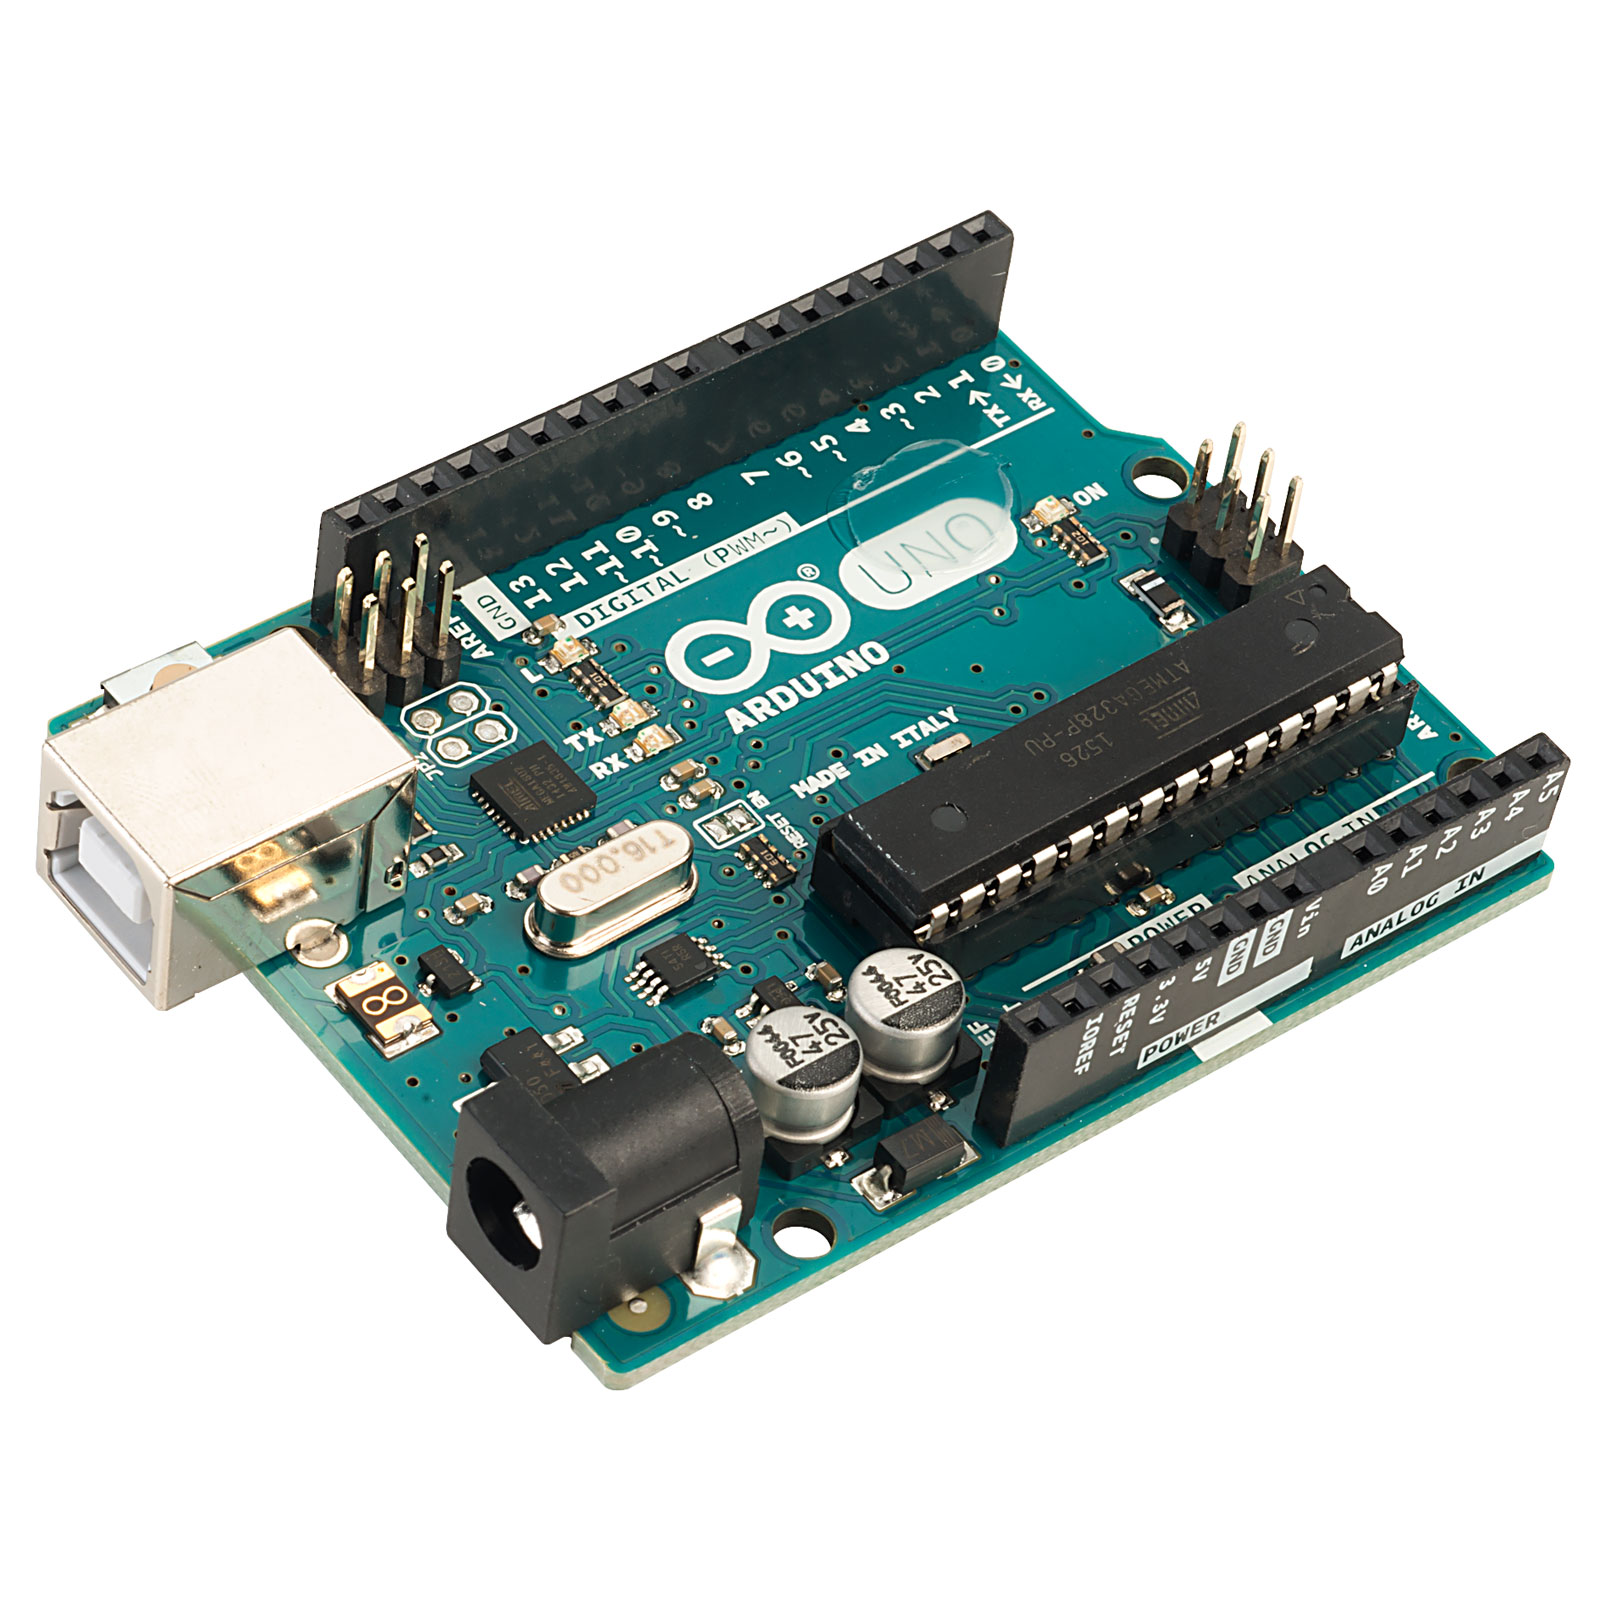
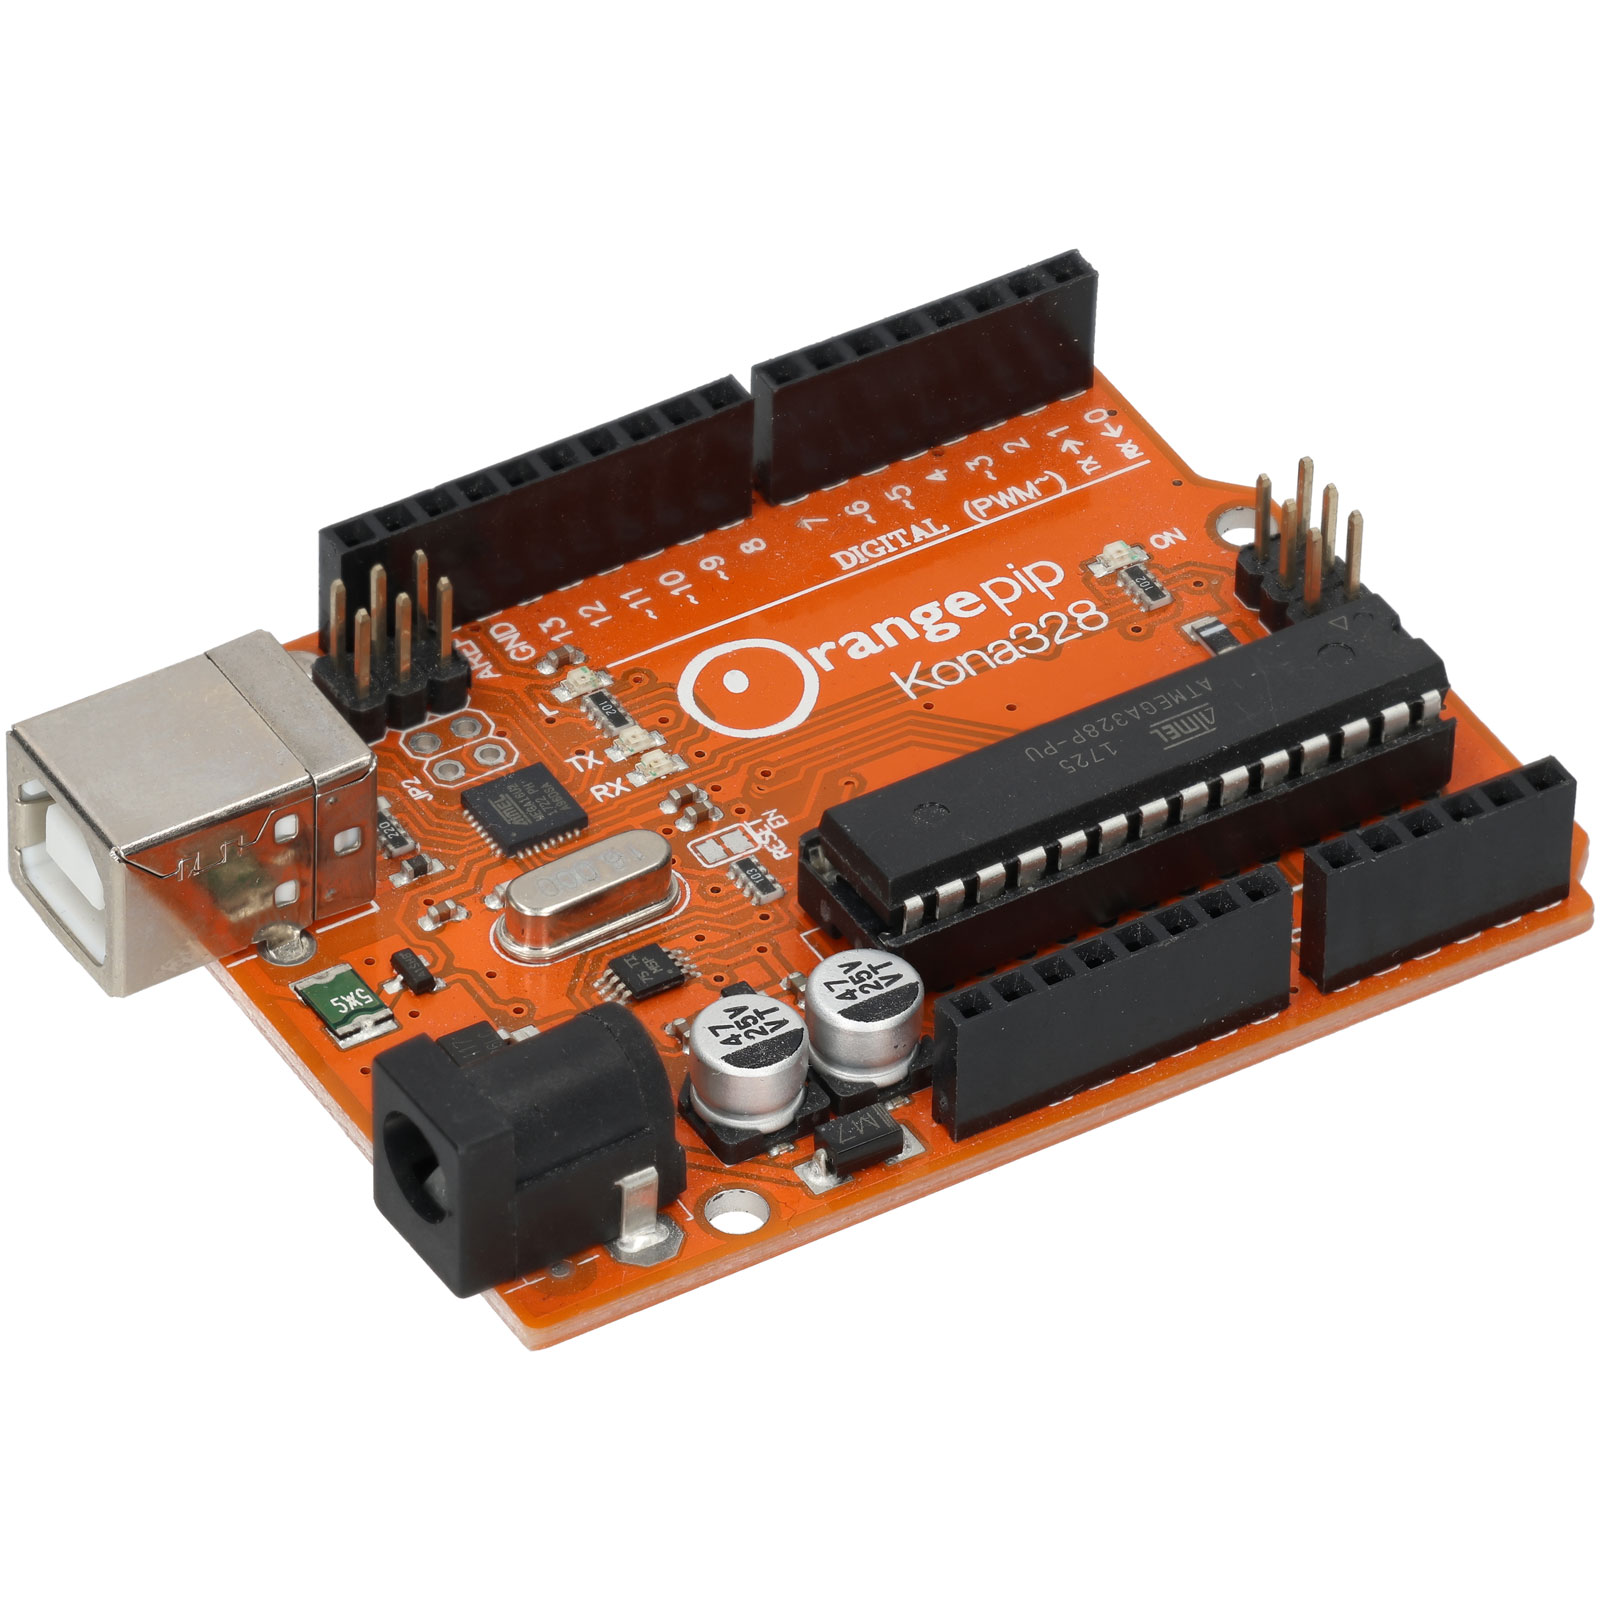
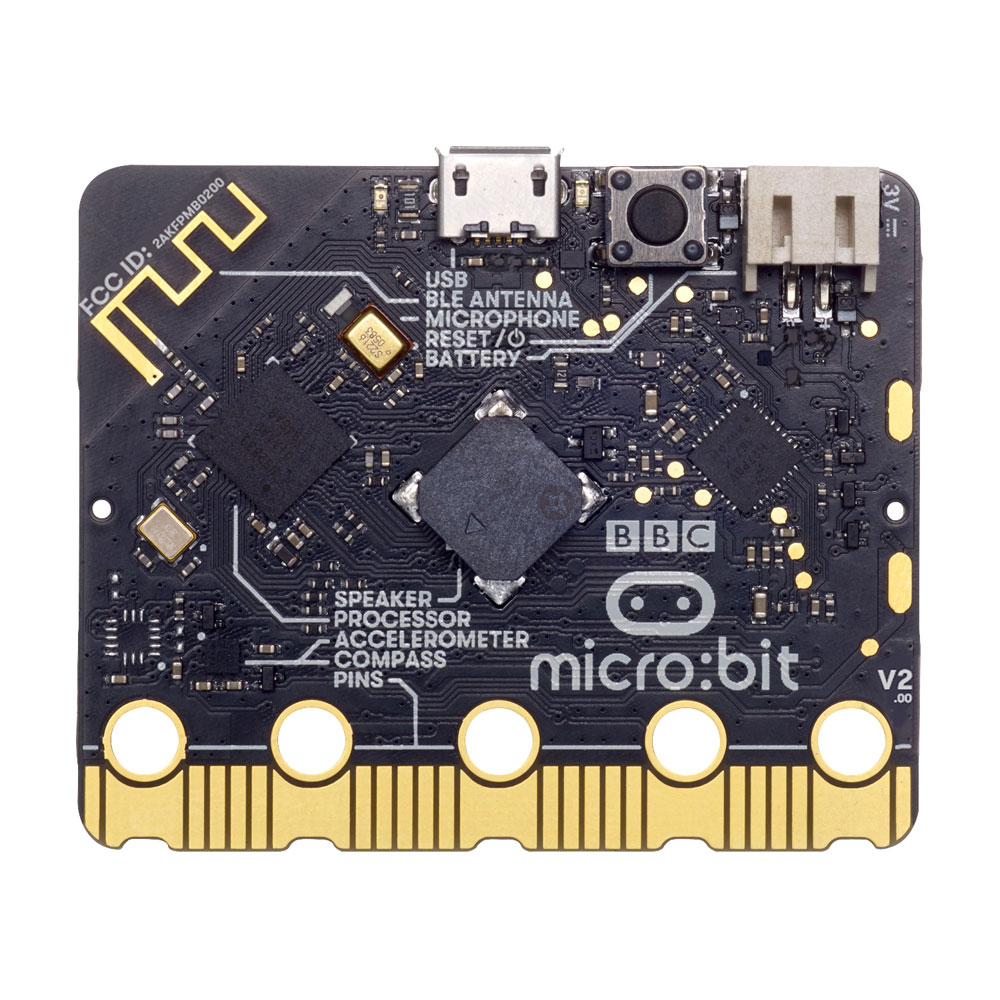
Microcontrollers – The robot’s brain
A microcontroller is the central processor that tells the robot what to do.
Schools commonly use:
- Arduino boards (very beginner-friendly)
- Micro:bit (excellent for coding lessons)
- ESP32 (Wi‑Fi/Bluetooth capable)
Students can program the microcontroller to:
- Control motors
- Read sensors
- Carry out tasks autonomously
This is perfect for cross-curricular learning — combining electronics with coding in Python, C++, or block-based languages.
Why are Microcontrollers considered the "brain" of a robot?
A microprocessor-based microcontroller serves as the central processing unit of a robot, receiving data from sensors and sending electrical commands to actuators. By executing stored code, microcontrollers allow a robot to make real-time decisions, transforming it from a static machine into an autonomous system capable of performing complex tasks.
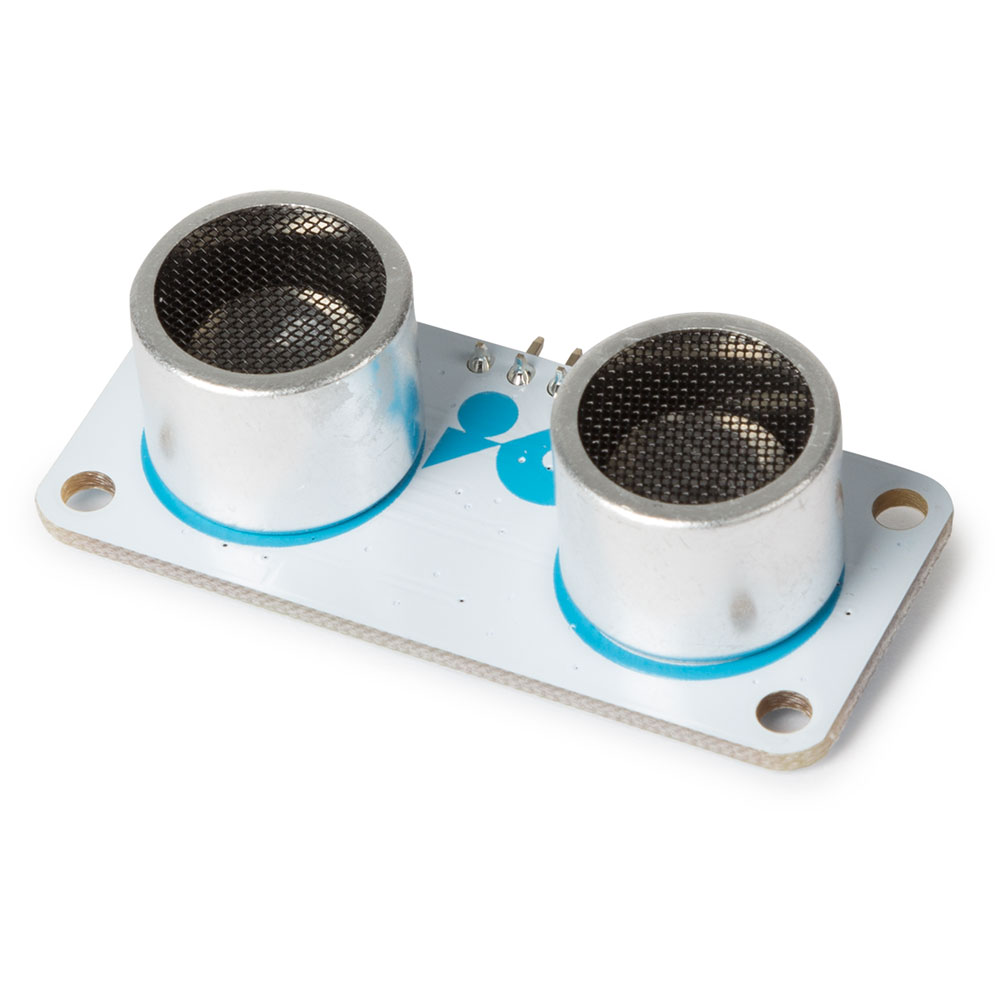
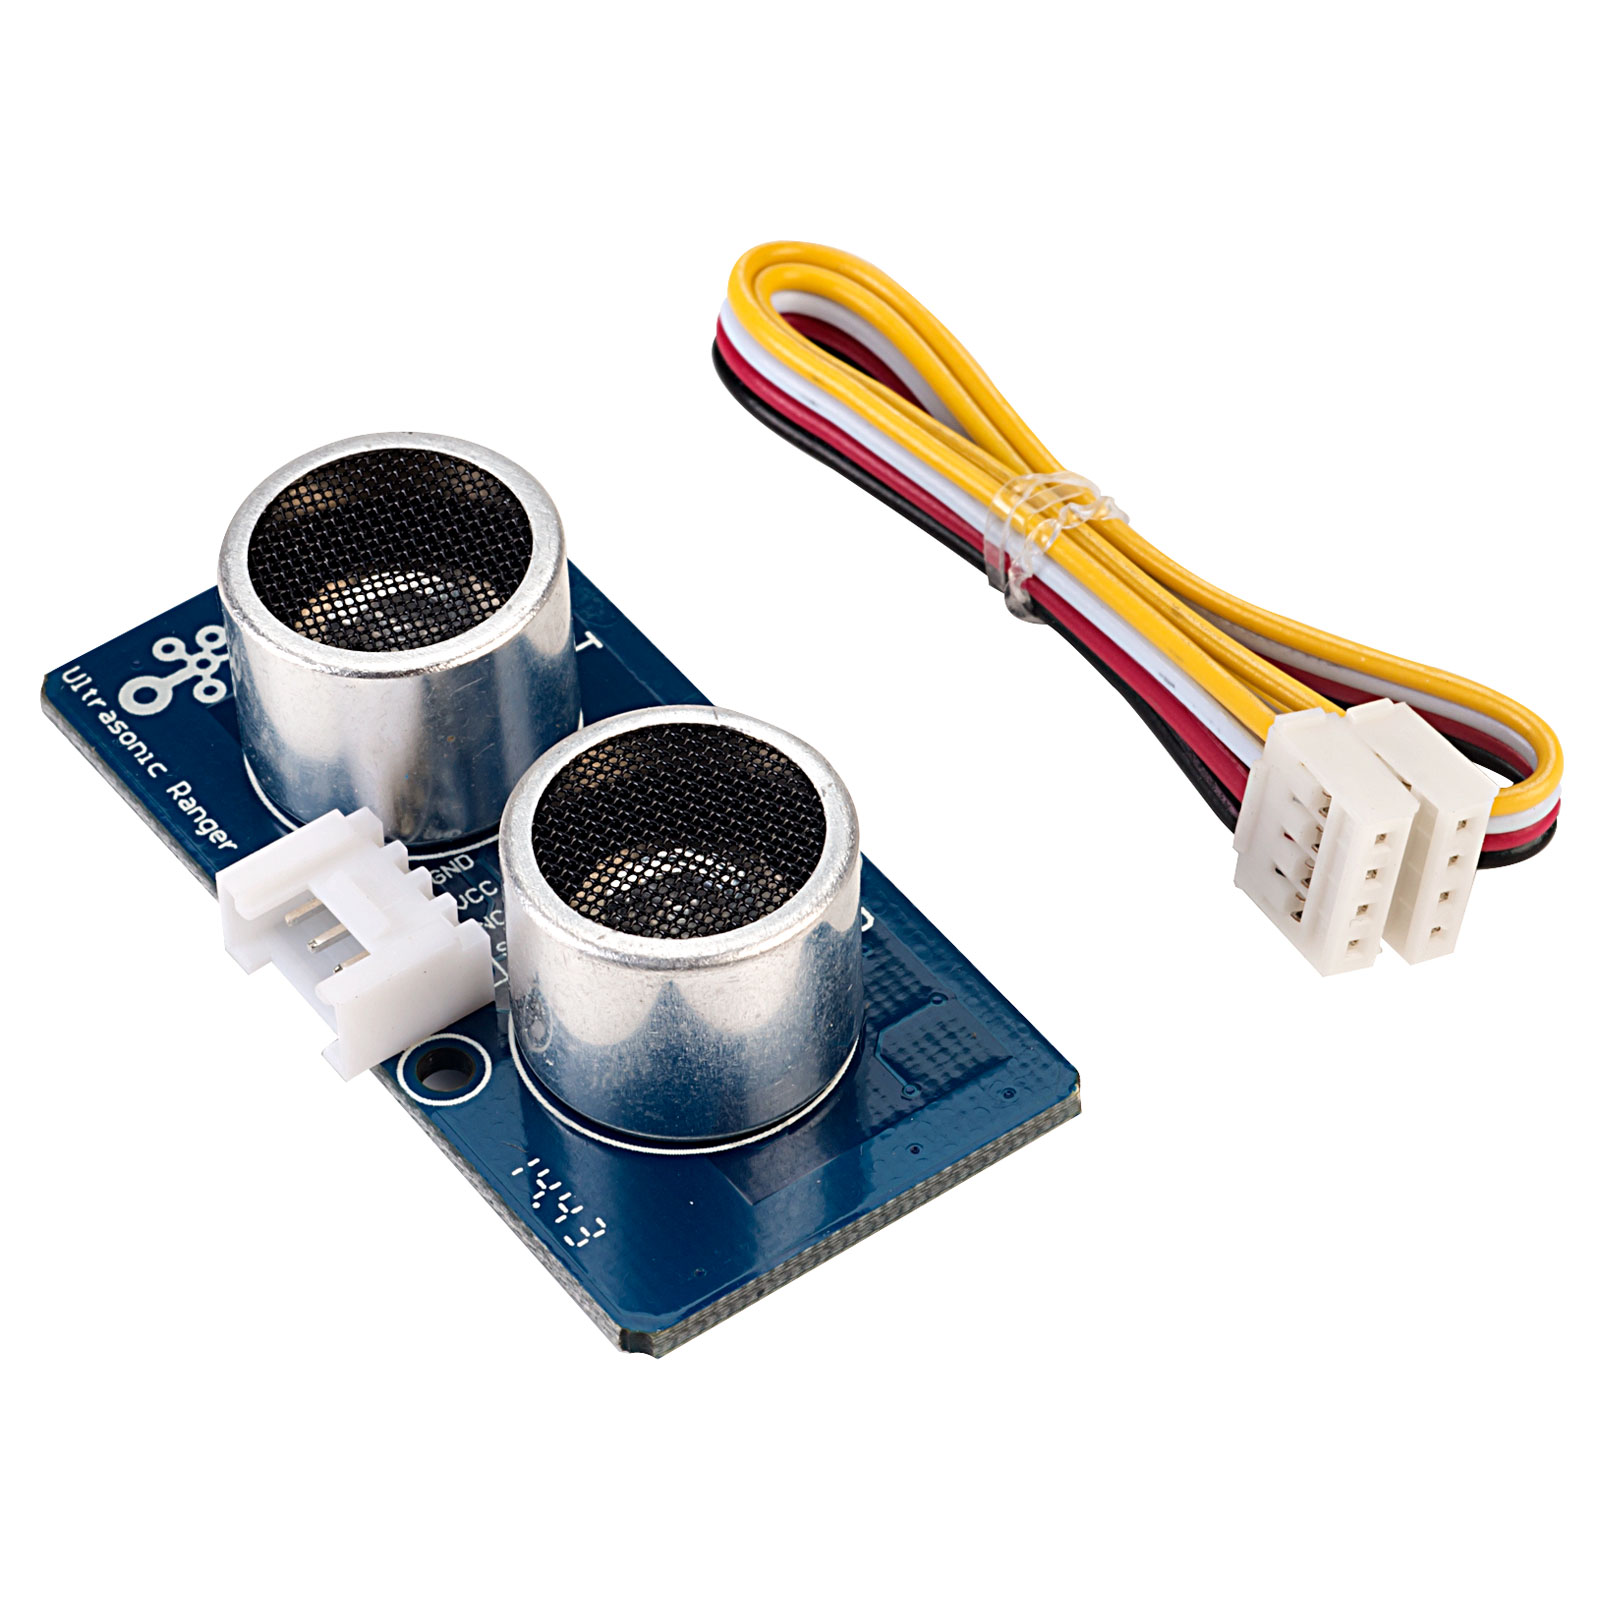
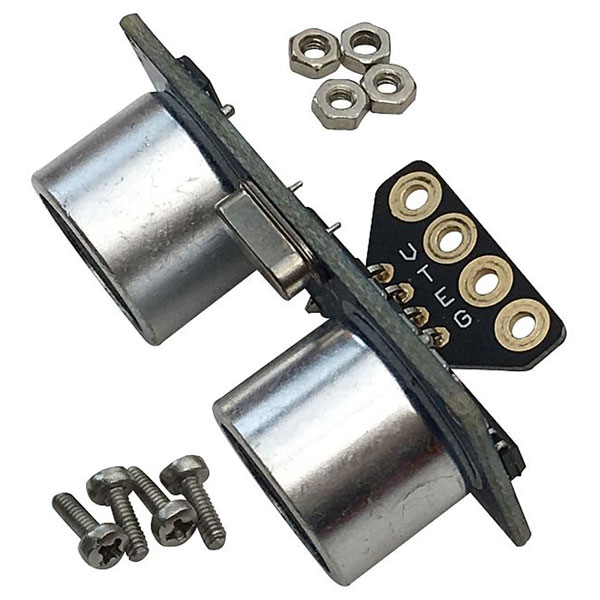
Sensors – Eyes, ears and awareness
Popular choices for school robots include:
- Ultrasonic sensors (distance measurement, obstacle detection)
- Light sensors (line-following)
- Infrared sensors
- Temperature or humidity sensors
- IMU modules (gyroscopes/accelerometers for balance)
Sensors allow students to program behaviours such as:
- Obstacle avoidance
- Line-following
- Wall‑trackingc
- Environmental monitoring
How do motors and sensors work together in an autonomous robot?
Hardware and software interact through a Feedback Loop. The sensor gathers data, the microcontroller processes this data using your code, and it then sends a command to the motors. This constant cycle of sensing, thinking, and acting is what makes a robot "intelligent" rather than just a remote-controlled car.
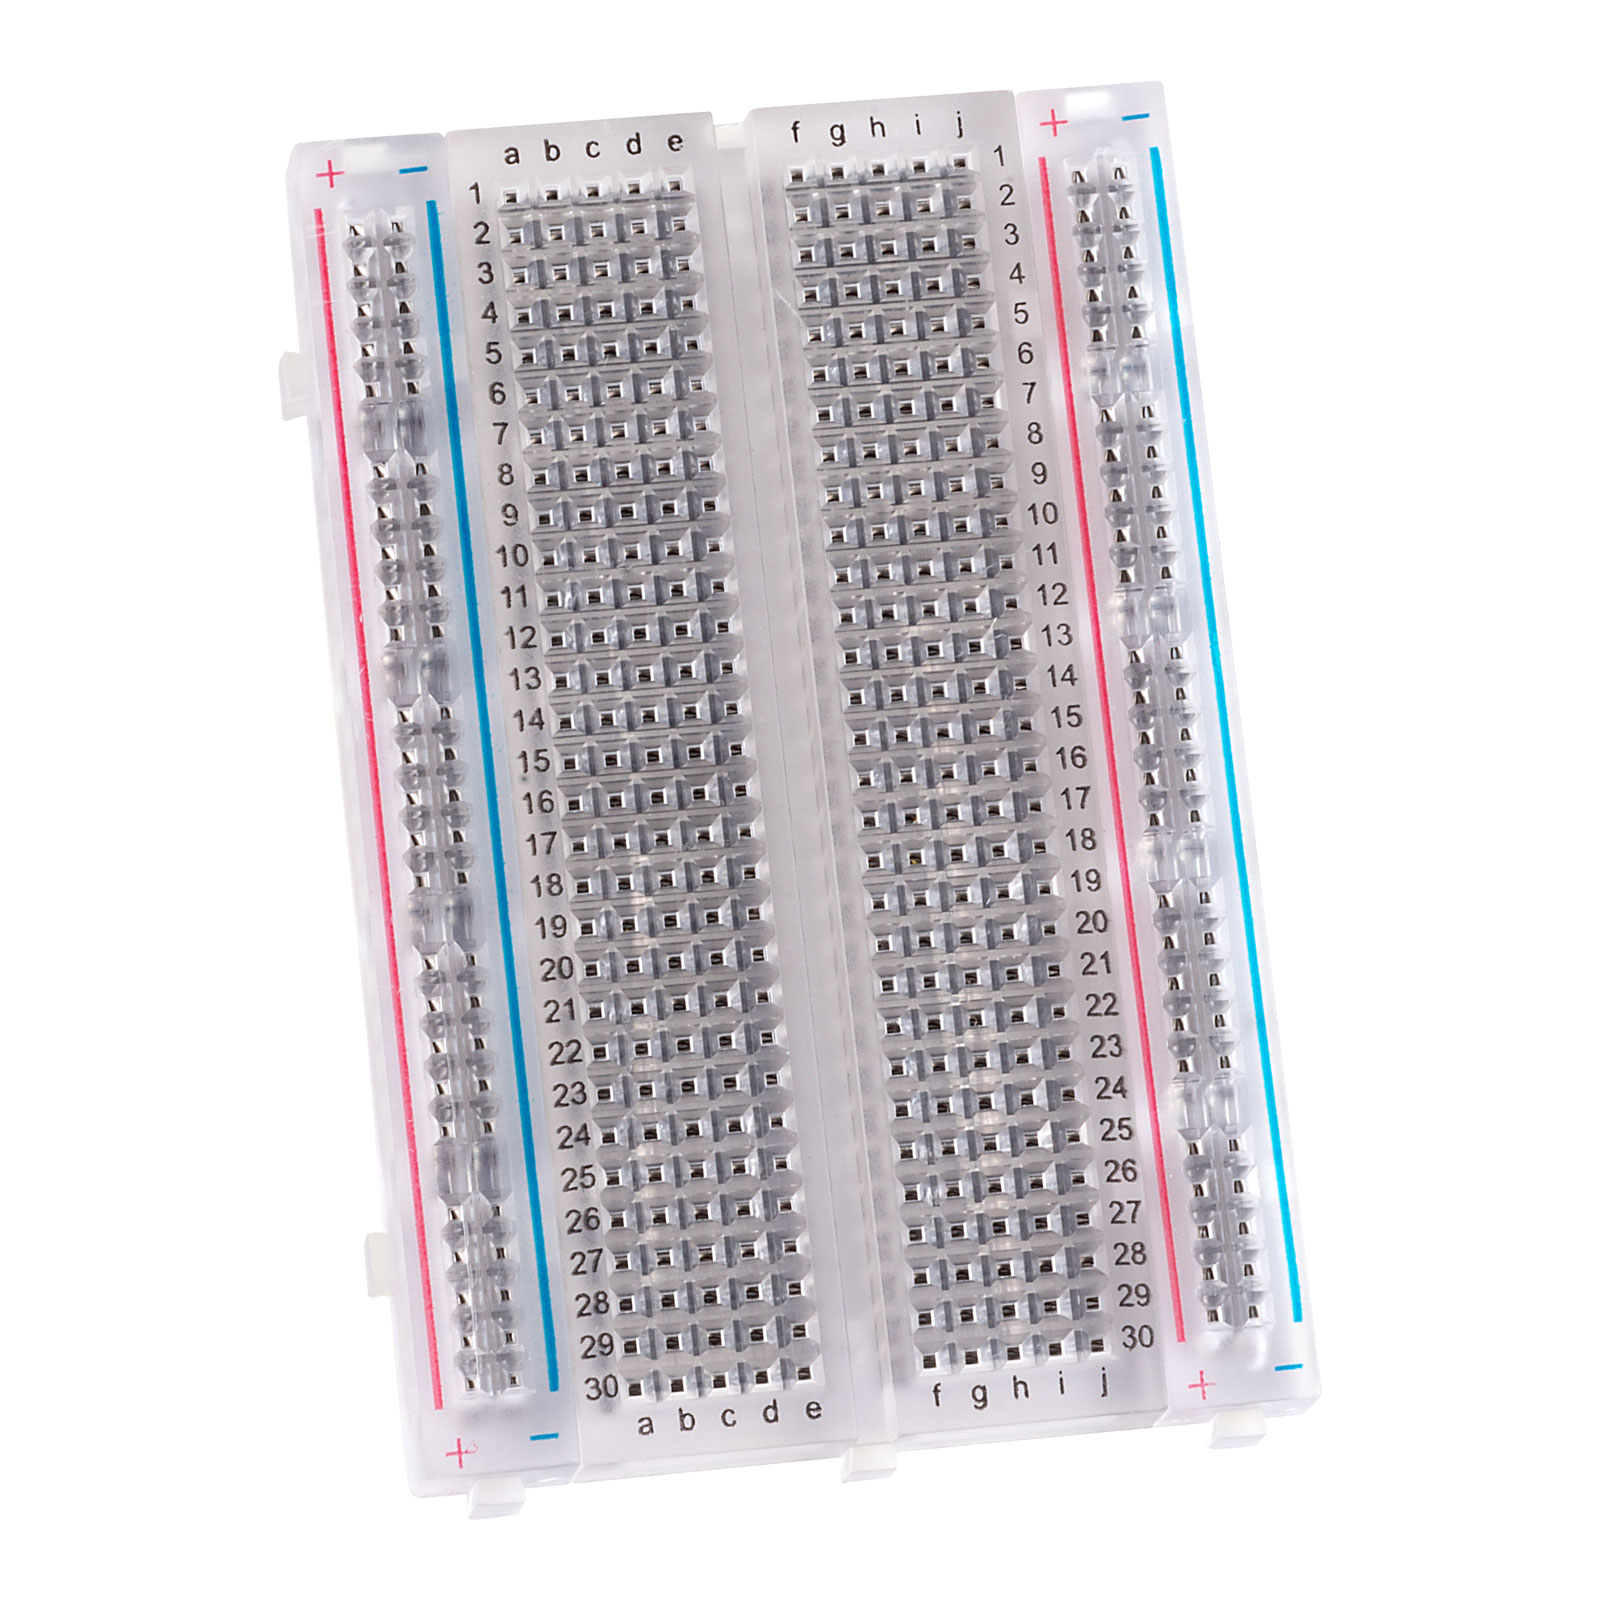
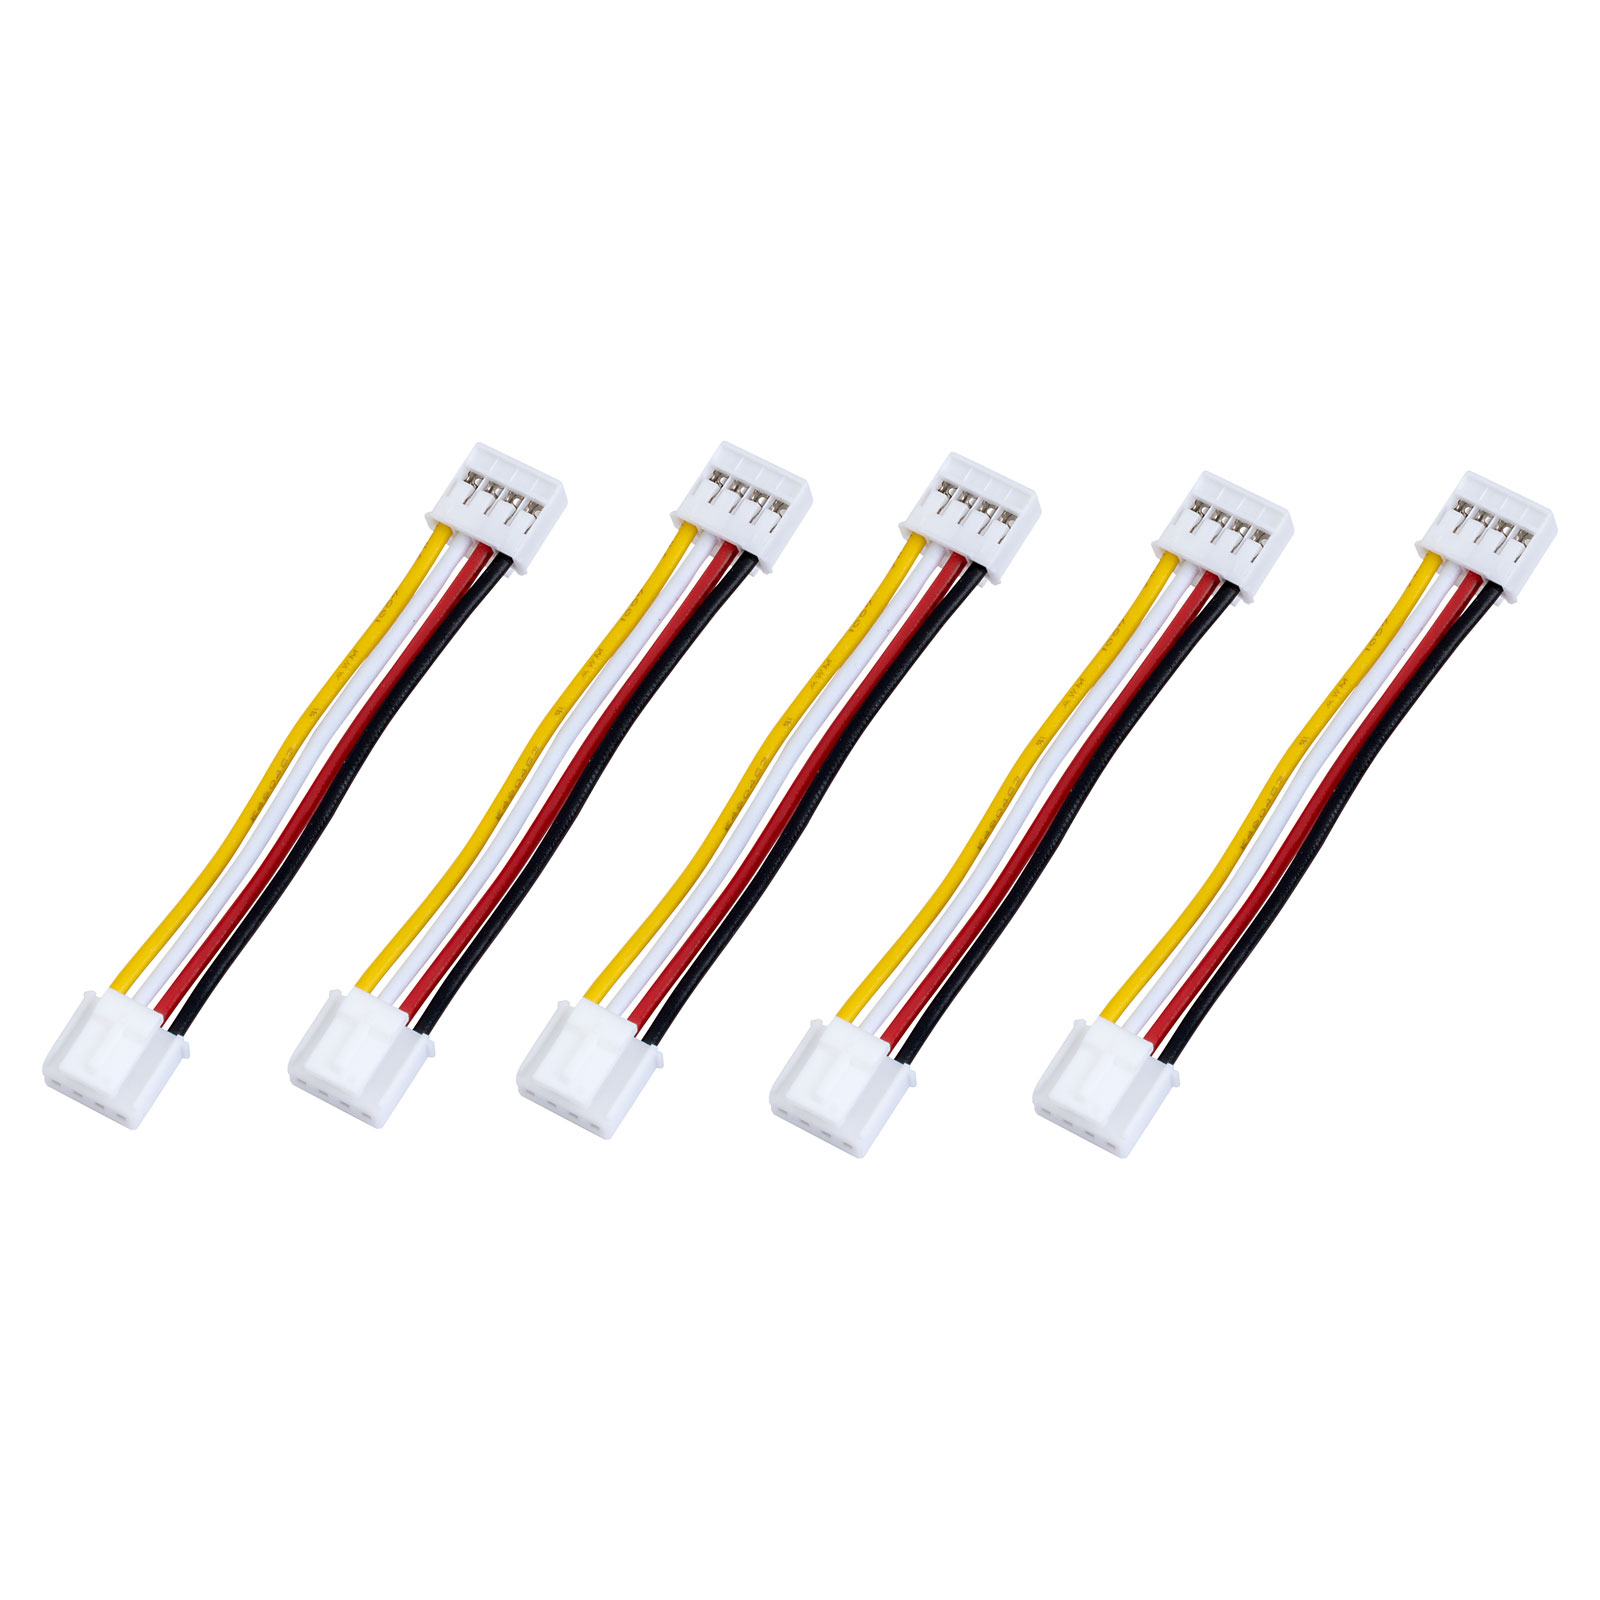
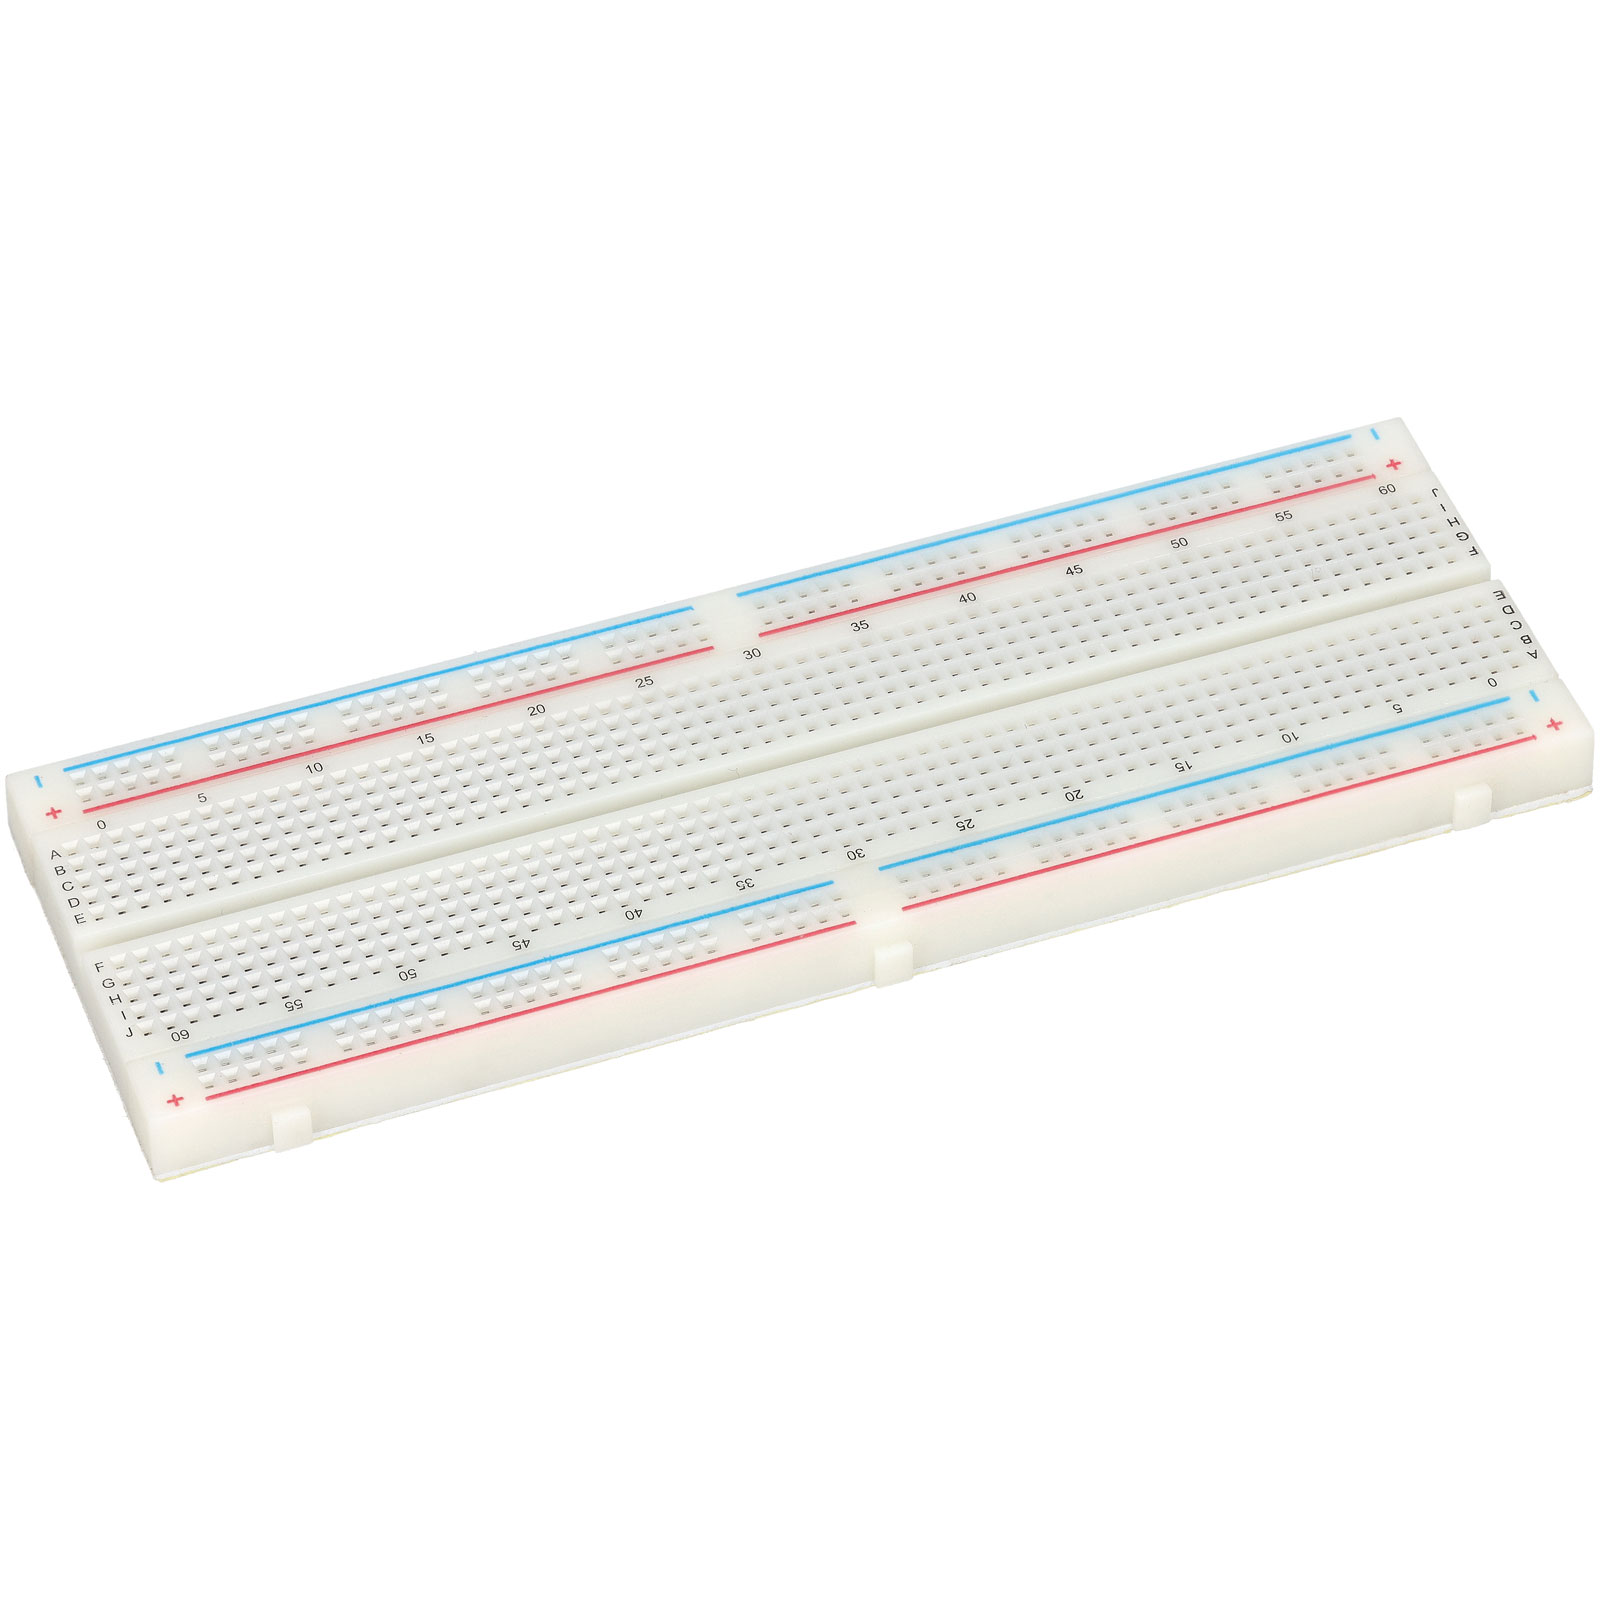
Wiring & Connections – Linking it all together
Good wiring practice is essential to prevent faults and help students understand circuits.
Common components:
Schools can teach students:
- How to read simple circuit diagrams
- How to keep wiring neat and safe
- The difference between power lines (red), ground (black), and signal wires
Clear wiring builds confidence and reduces troubleshooting time.
Why is neat and organised wiring important in educational robotics?
Effective wiring practices prevent short circuits and intermittent faults, which are the most common causes of project failure. By keeping cables organised with cable ties and heat-shrink tubing, students can easily trace circuits, reduce troubleshooting time, and build confidence in their ability to design reliable electronic systems.
Single-Board Computers – Advanced robot brains
For more advanced school projects, a single‑board computer (SBC) can be used:
These are more powerful than microcontrollers and can:
- Run a full operating system
- Process camera images
- Handle machine learning models
- Enable Wi‑Fi/Internet‑controlled robots
Pairing a Raspberry Pi with sensors allows students to experiment with AI robotics, computer vision, and Python programming.
What defines Single-Board Computers as advanced "robot brains"?
Unlike simple microcontrollers, Single-Board Computers (SBCs) are fully functional computers integrated onto a single circuit board, complete with a processor, memory and input/output pins. This allows them to run a full operating system like Linux, enabling robots to perform multitasking and high-level data processing that simpler boards cannot handle.
.jpg)

.jpg)